
I will tell you how to create your first Android Application using Android Studio.
FOLLOW THE STEPS FOR TO YOUR FIRST ANDROID APPLICATION
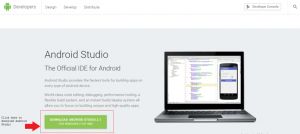
- First thing you need is Android Studio. So download Android Studio from the below link.
- Click here to Download Android Studio.
- Click on the box highlighted in the above image.
- After the download is completed, install the Android Studio.
- Now you have to download the latest version of the SDK file for running Android Studio. You can either download it using the below link or Android Studio will also ask you to download SDK itself.
- But I will recommend you to go with the second option and let the Android Studio automatically install the SDK itself because you don’t need to have any headache of finding the file and then downloading it.
- But if you want to download the SDK by yourself, then open your Android Studio and go to Files ->Settings, then in the settings tab, open Appearance & Behaviour -> System Settings -> Android SDK.
- Now after the Android SDK toolbar is opened, click on the Launch Standalone SDK Manager, in the bottom left corner of the toolbar.
The packages that you need to install are:
- Android SDK Platform.
- Google Respiratory.
- Google USB Driver.
- Intel x86 Emulator.
- Android System Image.
- Google Play Services.
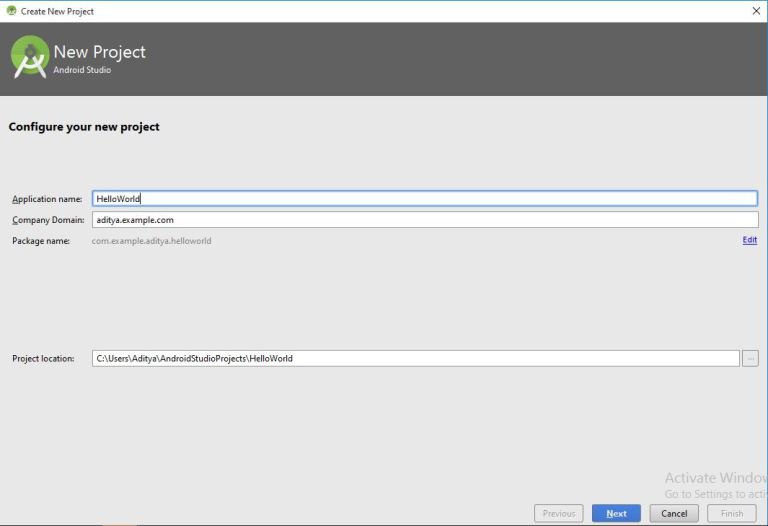
9. Now open Android Studio and click on Start a new Android Studio project.

10. Now give the name for the project. I have given it as Hello World and clicked Next.
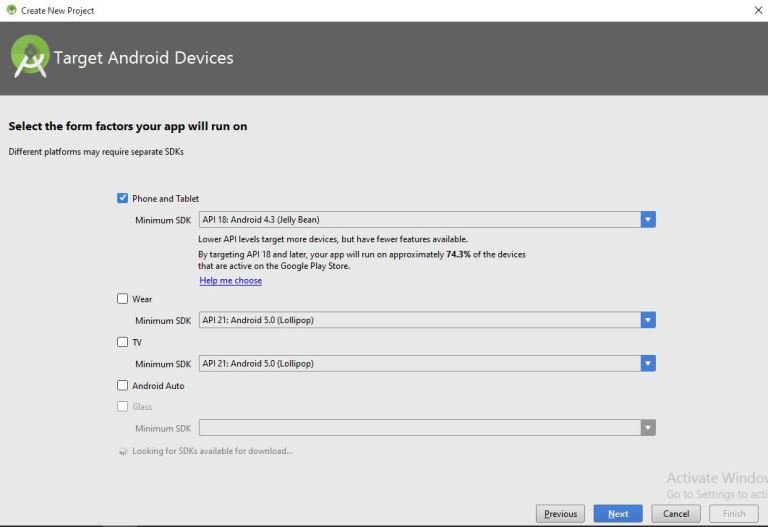
11. Now select the minimum SDK and click next.
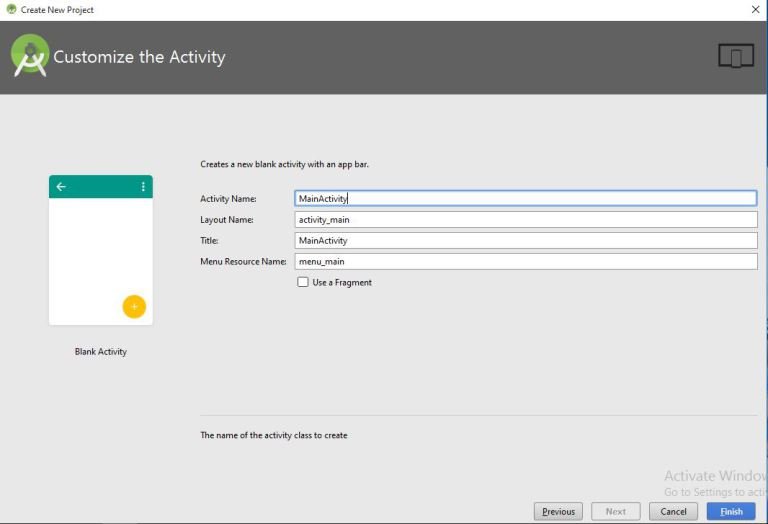
12. Select black activity and click Next.

13. After that give the name to the starting activity which is the MainActivity.class by default and click Finish.
CREATING YOUR FIRST ANDROID APPLICATION USING ANDROID STUDIO
Hello readers, in this tutorial I will tell you how to create your first Android Application using Android Studio.
SO FOLLOW THE STEPS FOR TO YOUR FIRST ANDROID APPLICATION

- First thing you need is Android Studio. So download Android Studio from the below link.
- Click here to Download Android Studio.
- Click on the box highlighted in the above image.
- After the download is completed, install the Android Studio.
- Now you have to download the latest version of the SDK file for running Android Studio. You can either download it using the below link or Android Studio will also ask you to download SDK itself.
- But I will recommend you to go with the second option and let the Android Studio automatically install the SDK itself because you don’t need to have any headache of finding the file and then downloading it.
- But if you want to download the SDK by yourself, then open your Android Studio and go to Files ->Settings, then in the settings tab, open Appearance & Behaviour -> System Settings -> Android SDK.
- Now after the Android SDK toolbar is opened, click on the Launch Standalone SDK Manager, in the bottom left corner of the toolbar.
The packages that you need to install are:
- Android SDK Platform.
- Google Respiratory.
- Google USB Driver.
- Intel x86 Emulator.
- Android System Image.
- Google Play Services.
9. Now open Android Studio and click on Start a new Android Studio project.

10. Now give the name for the project. I have given it as Hello World and clicked Next.

11. Now select the minimum SDK and click next.

12. Select black activity and click Next.

13. After that give the name to the starting activity which is the MainActivity.class by default and click Finish.

14. Now after the Gradle is built and all the importing has been done, you Android Studio will start completely and you will be able to see the layout file opened in front of you, which contains a text view in which Hello world is written.

15. Now if you go to MainActivity.java file, you will see the code, in which the layout file is defined, and the text view is defined which will be shown in the output.
16.As we have created our application, now is the time to run our application.
17. For this click on Run in the menu bar.
18.After that select the first option, which is Run app.
19. Now a dialogue box will open. Select Launch Emulator option and click Ok.
Output:


 APK is Here !")

